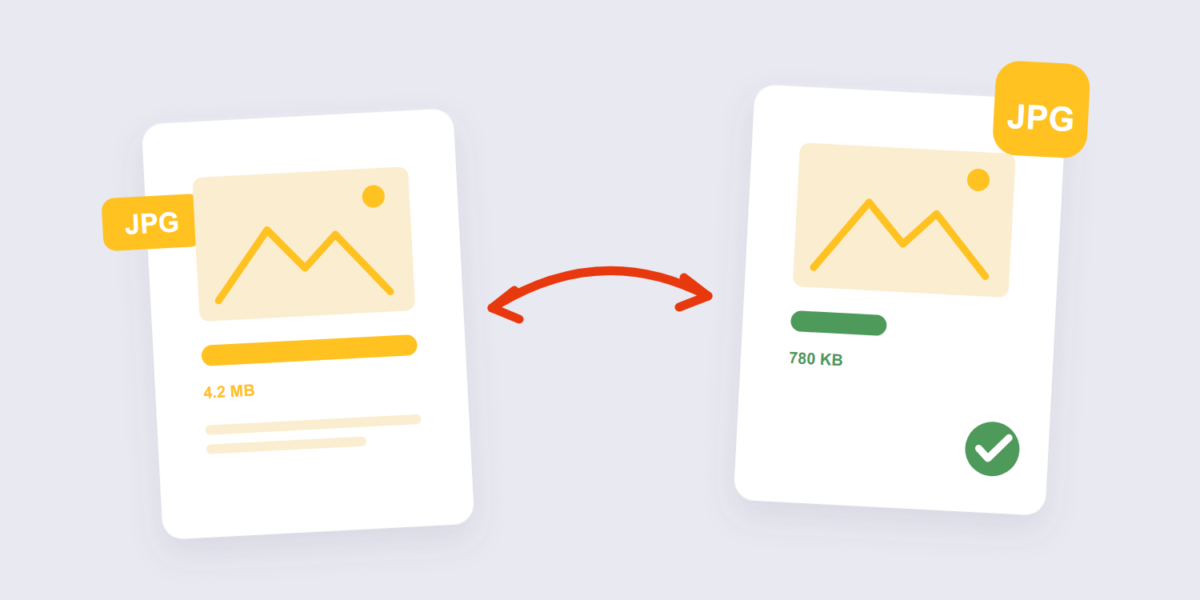
“Compress this image” usually means one of two very different jobs: shrink a file for an email or upload form, or strip the bloat out of photos that are eating your website’s load time. Both jobs come down to the same dial — how aggressively the JPG re-encodes — plus two levers most people forget about entirely.
This guide covers the compression itself with our JPG compressor, the quality setting explained in real numbers, the two levers that beat quality alone (dimensions and metadata), and the honest answer to “will I lose quality?” — because with JPG, the answer is always “a little,” and here’s how to make sure nobody ever notices.
How to Compress JPG Online Free (3 Steps)
- Add your images. Drop one JPG or a whole batch into the Compress JPG tool. Compression runs locally in your browser — the photos are never uploaded anywhere.
- Pick a quality level. Around 80% is the default sweet spot. Higher if the images are headed somewhere picky; lower only when file size matters more than fidelity.
- Compress and download. Same dimensions, same look at a glance, a fraction of the file size. Batch results come back together.
The Truth About “Lossless” JPG Compression
Let’s be precise, because the search results are full of promises that don’t survive contact with the format. JPG is a lossy format by design — every re-save discards some data. So “compress JPG without losing quality” is technically impossible; what IS possible, and what good tools deliver, is compressing without visible loss.
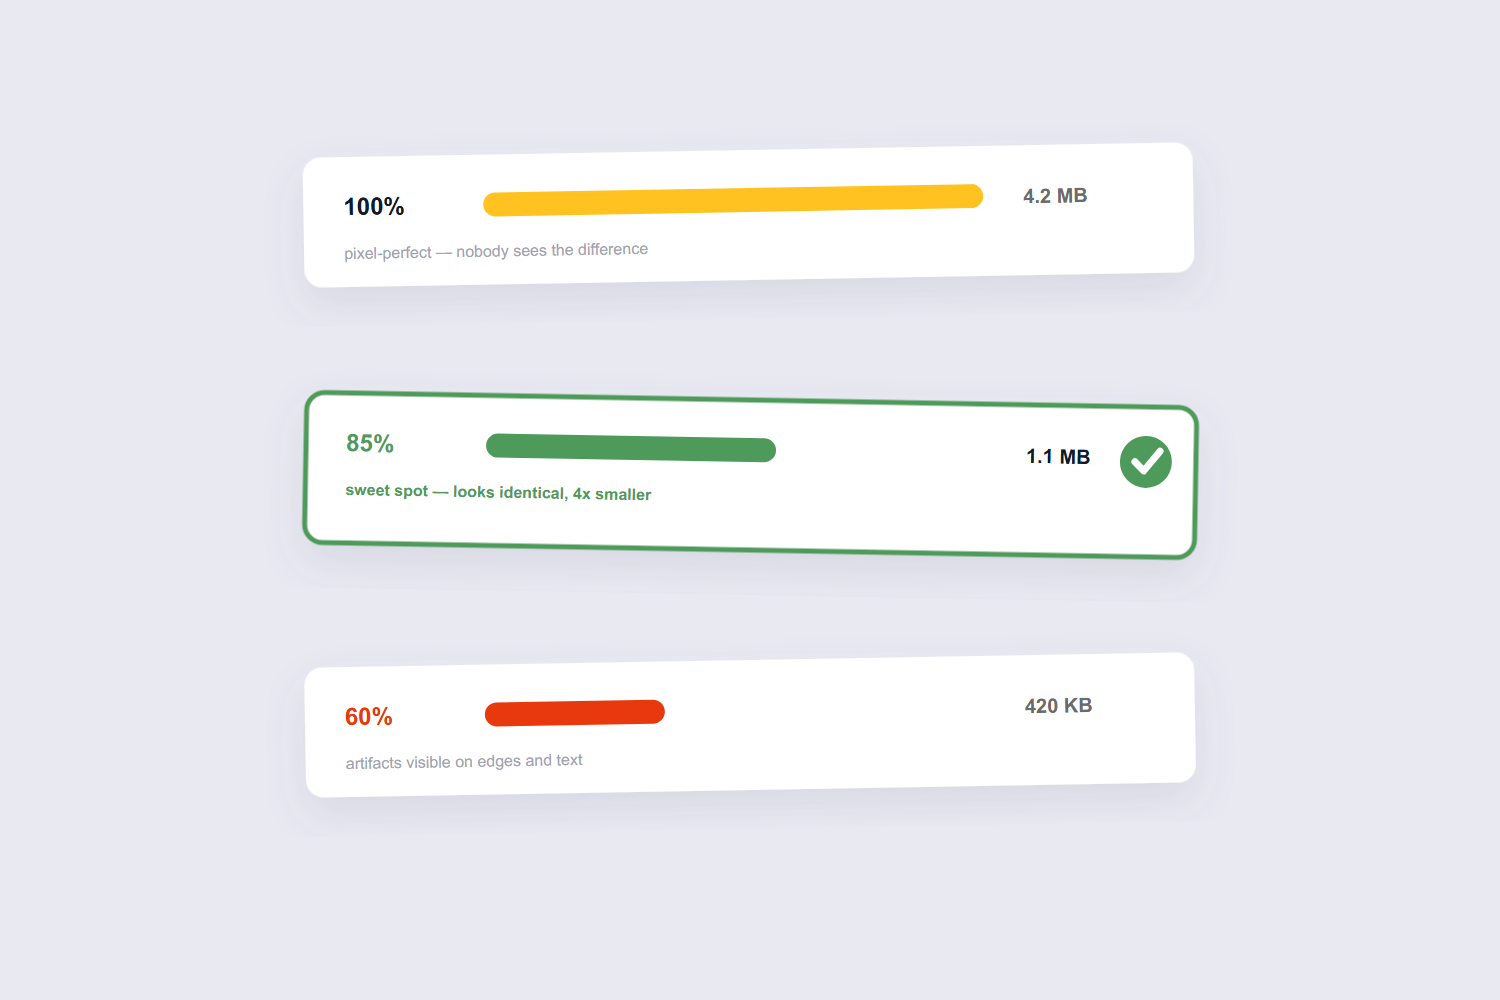
The reason it works: JPG compression throws away detail your eye barely registers, and the discard rate is the quality setting. The counterintuitive part — confirmed by anyone who’s ever compared files side by side — is where the savings live. Going from 100% quality to roughly 85% typically cuts file size dramatically while the difference is imperceptible. Below about 70%, artifacts start creeping in around sharp edges; below 50%, everyone can see them.
| Quality | File size | Visible difference? |
|---|---|---|
| 90–100% | Large | None — but you’re paying for precision nobody sees |
| 75–90% | Much smaller | Imperceptible on photos |
| 50–70% | Smallest | Starts showing on text and edges |
If you need genuinely zero loss, that’s a job for a lossless format — PNG or WebP lossless — at the cost of bigger files. Our PNG compressor handles that side.
Two Levers That Beat Quality Alone
Quality gets all the attention, but two other factors usually shrink files more:
1. Dimensions. A 6000-pixel-wide camera photo is overkill for an email or a web page. Halving the width and height cuts the pixel count by 75% — and the file size follows. Resize first with the image resizer, then compress; the combination routinely beats quality tweaks by a mile.
2. Metadata. Every phone photo carries EXIF data — camera model, settings, sometimes GPS coordinates. That’s several hundred kilobytes of invisible baggage. Compression tools that strip metadata (ours does) reclaim it for free — and as a privacy bonus, the location data goes with it.
And one more, when the destination allows it: format switch. WebP runs 25–34% smaller than JPG at the same visual quality — our Image to WebP tool covers that conversion.
How Much Can You Actually Shrink a JPG?
Honest ranges, because “up to 90% smaller!” claims deserve context. A typical straight-from-camera JPG at 100% quality compresses roughly: 30–50% smaller at quality 85, 50–70% smaller at quality 75, and up to 80%+ smaller at quality 50 with visible damage. Already-compressed images (downloaded from the web, re-saved multiple times) have less fat to trim — compressing them again yields little and degrades them visibly.
The professional workflow that Reddit’s photography communities keep recommending — and that genuinely works: resize to the dimensions you actually need, compress at 80–85%, strip metadata. Do all three and even stubborn 8 MB photos land under 500 KB looking identical at viewing size.
Privacy: Where Your Photos Go
Compression tools split into two camps, and the difference matters for personal photos. Server-based tools (TinyJPG, and most of the big names) upload your images, compress them on their infrastructure, and delete them later. Browser-based tools — ours included — do the work on your device: the file never leaves it, which you can verify by going offline after the page loads. For family photos, ID scans, and anything private, local processing is the version to use.
Frequently Asked Questions
Does compressing a JPG lose quality?
Technically yes — JPG is lossy, so every compression discards some data. At 80–85% quality the loss is imperceptible on photos; that’s the entire art of it. What you should never do is compress the same JPG repeatedly — each pass compounds the damage.
What quality setting should I use?
80–85% for photos headed to screens and email; 90%+ for anything you’ll print or edit further. Below 70% only when file size matters more than looks — thumbnails and previews.
Why is my JPG still huge after compressing?
Usually the dimensions. A 6000-pixel photo stays heavy at any quality. Resize it to what you actually need first (1200–1600 px covers most uses), then compress — the two together outperform either alone.
Can I compress JPG files without uploading them?
Yes — browser-based tools like ours compress locally on your device. Nothing is transmitted, which also means no file-size caps tied to someone’s server. Google’s own Squoosh works the same way if you want a second opinion on the approach.
Is compressing a JPG the same as resizing it?
No — compression keeps the dimensions and shrinks the file; resizing shrinks the dimensions. They combine well, but they’re different jobs with different tools.
How small can I get a JPG for email?
Resize to 1200–1600 pixels wide and compress at 80% — most photos land between 100 and 300 KB, well under any email attachment limit while still looking sharp on any screen.
Resize first, compress at 80–85%, keep the original for re-editing. If your images are headed into a document instead, the image to PDF tool bundles them — and our JPG to PDF guide walks through that workflow.
