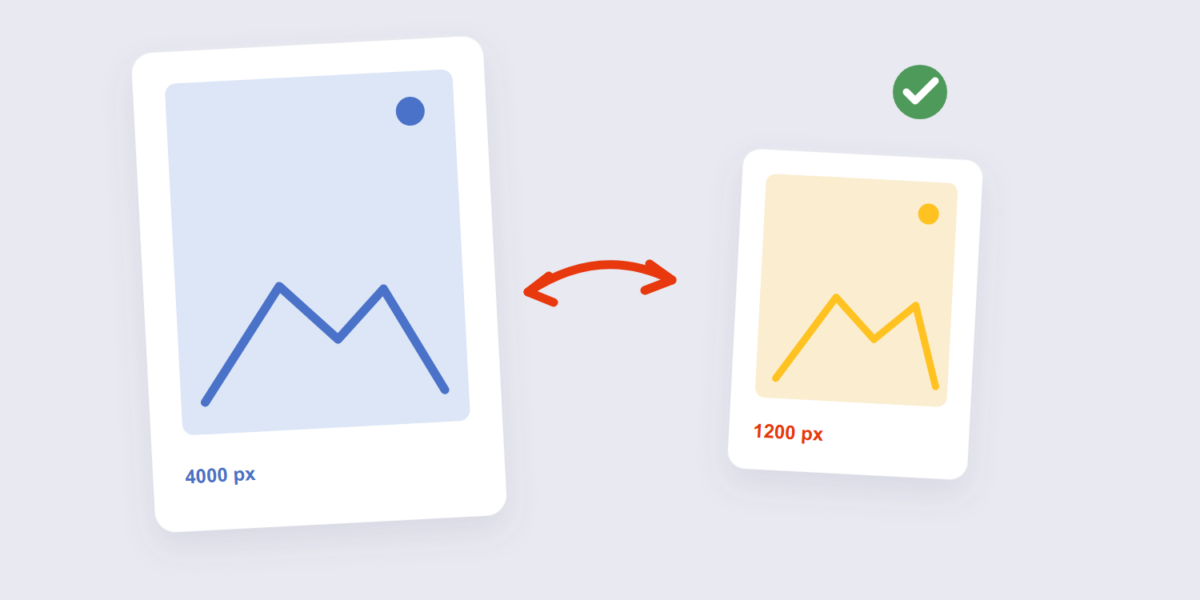
Every upload form has opinions about your images. Avatars want squares, portals cap dimensions, email chokes on 6000-pixel camera files. Resizing is the fix, but between pixel math, aspect ratios, and the quality anxiety, a two-second job turns into a research project.
This guide makes it simple: the steps with our image resizer, the pixels-versus-inches explanation that ends the confusion for good, and the honest physics of why shrinking is safe while enlarging never is.
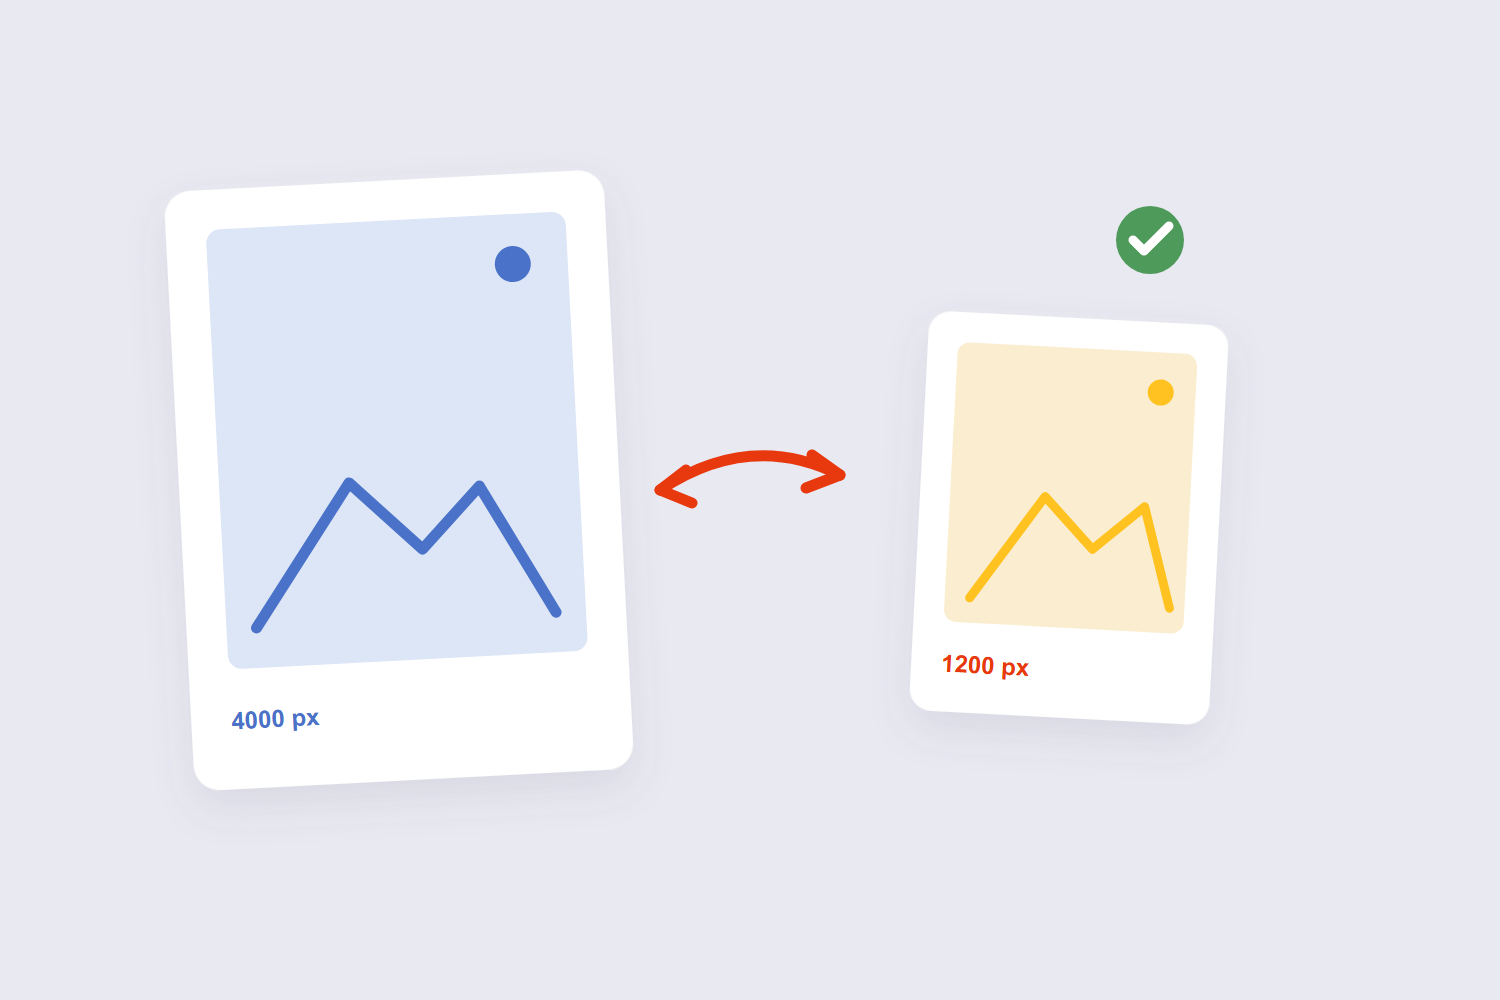
How to Resize an Image Online Free (3 Steps)
- Add the image. Drop it into the Image Resize tool. Processing is local — the picture never leaves your device.
- Set the target size. Enter the width or height in pixels; the tool keeps the proportions automatically so nothing stretches. Common preset sizes cover the usual suspects — profile pictures, cover images, email-friendly dimensions.
- Resize and download. The output is your image at the exact size requested, ready for the form or platform that demanded it.
Pixels vs Inches: The Confusion, Ended
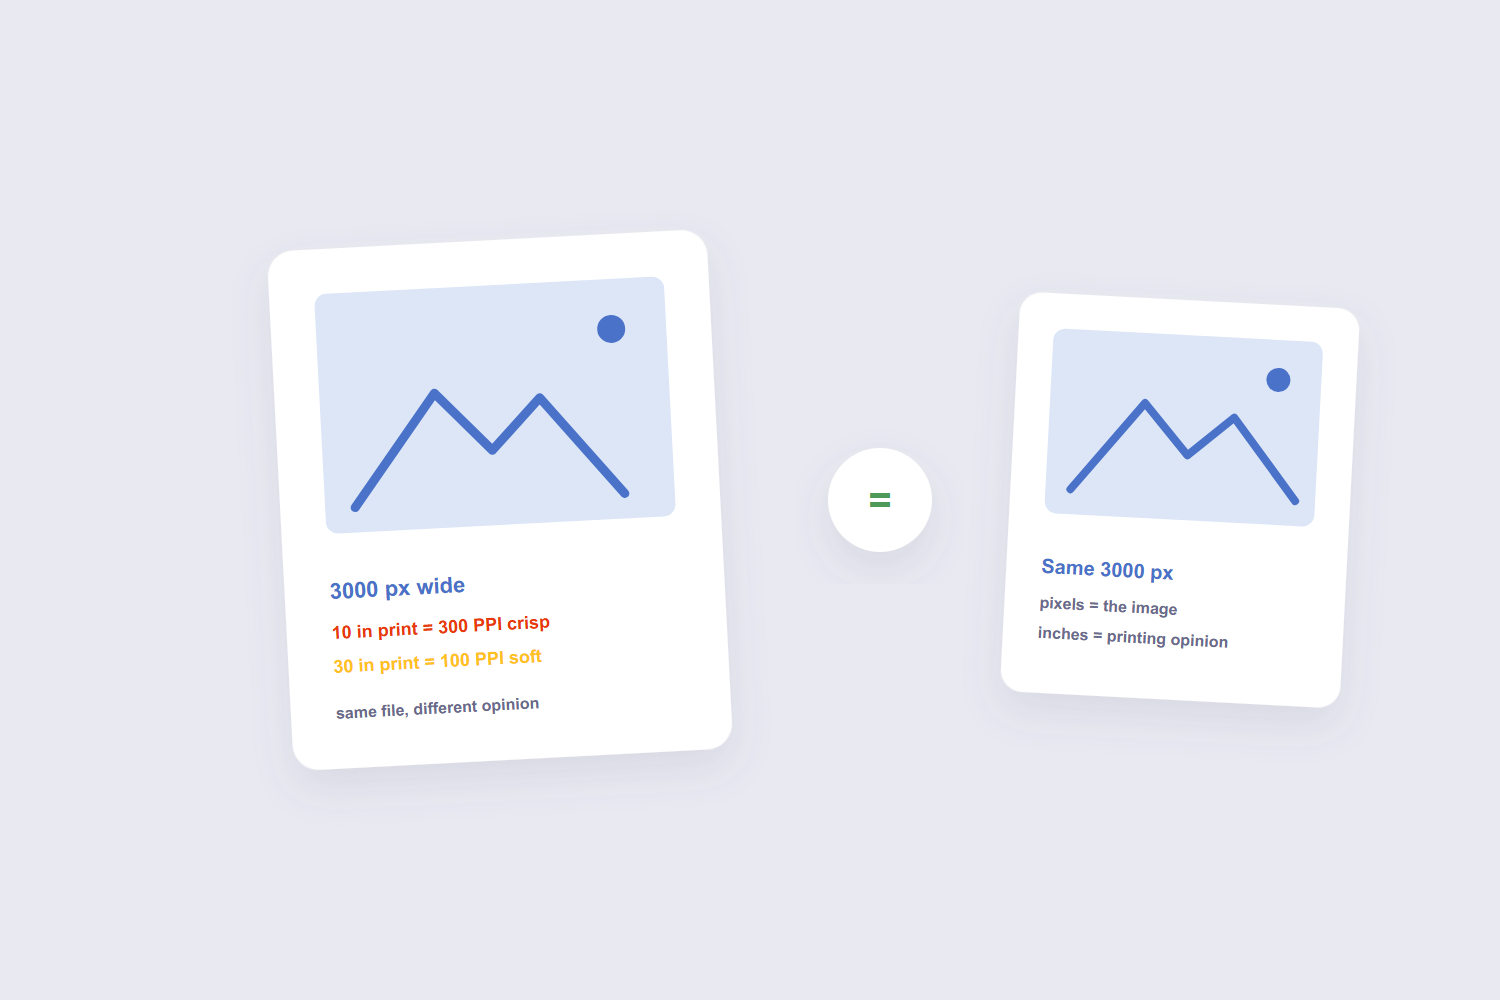
Here’s the sentence that untangles everything: pixels are the image; inches are an opinion about printing it. A photo that’s 3000 pixels wide carries all the detail it will ever have. The “inches” setting in image software is just instructions for printers — the same 3000 pixels can be printed at 10 inches (300 pixels per inch, crisp) or 30 inches (100 PPI, soft), and the file is byte-for-byte identical. Digital Photography School’s explainer makes the same point: pixel dimensions control the image; DPI is interpretation metadata.
So when a form asks for an image “at least 1000 pixels,” that’s a real requirement — the detail exists. When a print shop asks for “300 DPI,” they’re really asking whether your pixels are enough for the print size: pixels = DPI × inches. An 8×10-inch print at 300 DPI needs 2400×3000 pixels. Pixel charts like this one do the math for common print sizes.
Why You Can Shrink but Never Enlarge
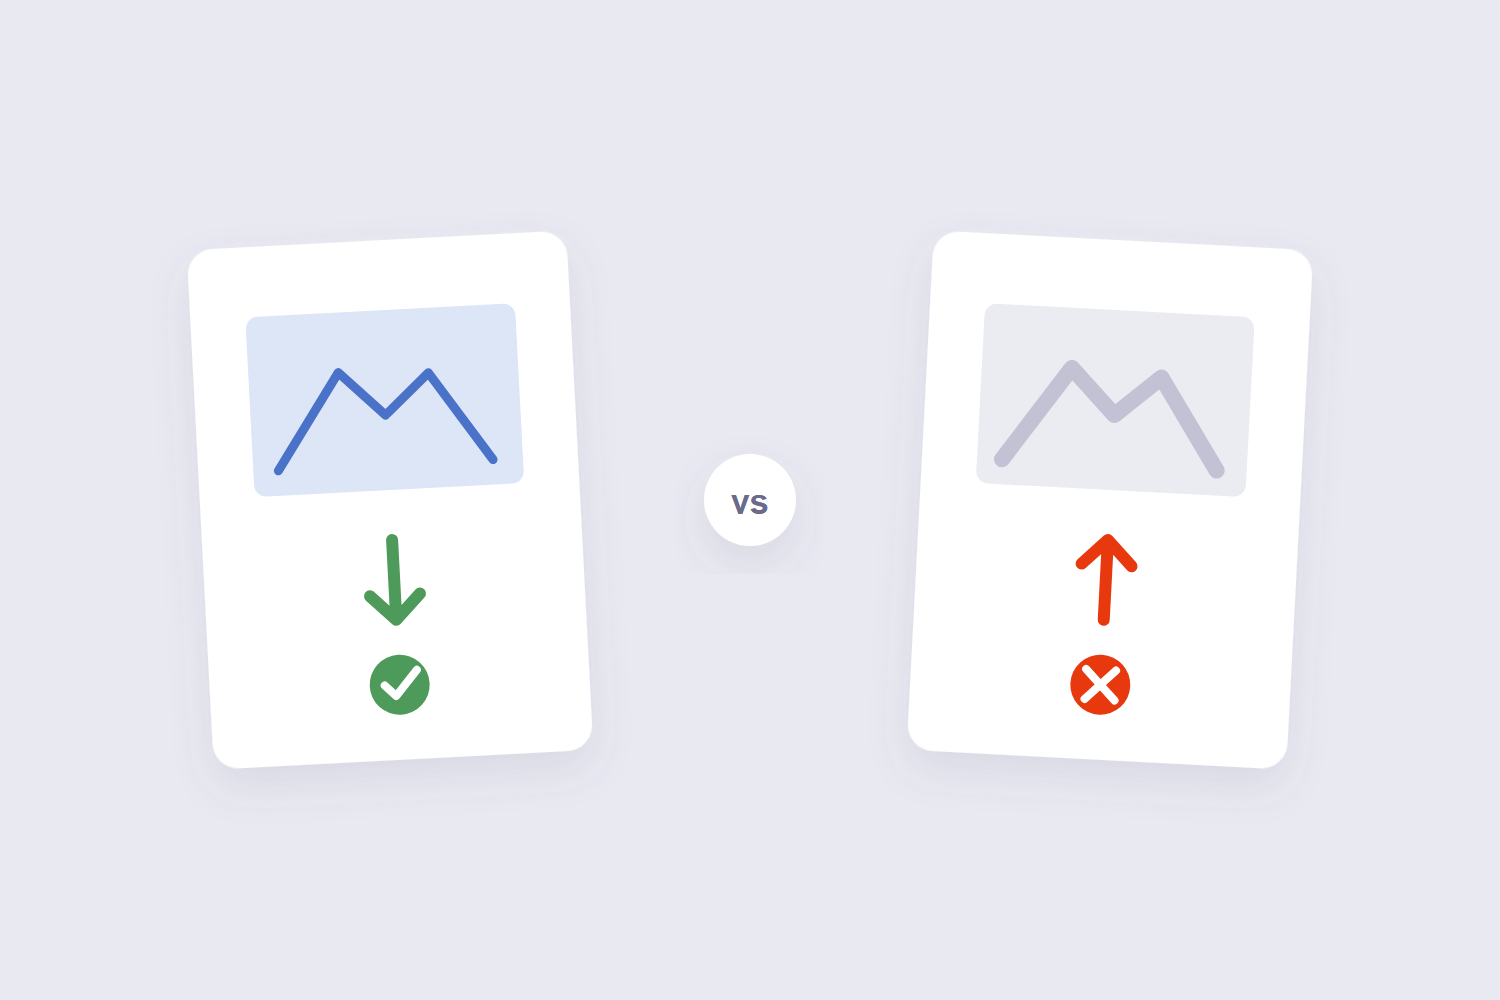
Shrinking throws pixels away, and the remaining pixels still carry real detail — done well, a downscaled image looks sharp at any zoom that matters. Enlarging is the opposite: the software must create pixels that were never captured, and every invention shows as softness or blockiness. No setting avoids this; it’s arithmetic, not quality settings.
This is why the universal advice is to shoot or scan larger than you need and resize down. A phone photo at 4000 pixels wide covers print, web, and everything between. The 800-pixel image lifted from a website covers an 800-pixel slot and nothing bigger — quality guides agree that the original’s detail is the ceiling, always.
Aspect Ratio: The Distortion Guard
Stretch a photo 1200×800 into a 1200×800 slot and nothing happens. Ask for 1200×400 and faces go funhouse. The width-to-height proportion is the aspect ratio, and honest resizing changes both dimensions together. The tool locks the ratio by default — enter one dimension, get the other calculated. If a platform genuinely demands a different shape (square crop from a rectangle), that’s a crop, not a resize: use the image crop tool to cut, then resize the result.
Frequently Asked Questions
Does resizing an image reduce quality?
Downsizing slightly reduces detail by design — that’s the point — but well-done shrinking looks sharp at the target size. Enlarging degrades visibly and cannot be undone. The safe rule: go down, never up.
What size should a photo be for email?
Around 1200–1600 pixels wide is plenty for viewing on any screen and keeps most photos under a few hundred KB. Full-resolution camera files belong in cloud links, not attachments.
How many pixels do I need for printing?
Multiply the print size in inches by 300. A 6×4-inch print wants 1800×1200 pixels; an A4 sheet at 300 DPI wants about 3500×2480. Under that, prints soften.
Can I resize an image on my phone?
Yes — the tool works in mobile browsers with the same pixel-based controls. The most common phone job: shrinking camera photos before uploading them to portals that reject large files.
Why does my resized image look squashed?
The aspect ratio was broken — width and height were changed independently. Re-do it with the ratio locked (enter one dimension only), or crop to the new shape first if a platform truly demands different proportions.
What’s the difference between resizing and compressing?
Resizing changes pixel dimensions; compression squeezes the file at the same dimensions. Often you want both — resize first, then run the image compressor for the final size cut.
Shrink, never stretch, keep the original. If the resized image is headed into a PDF — scan pack, submission bundle — the image to PDF tool assembles it, and the JPG to PDF guide walks through it.
